1.Open a class diagram of the prototype application (for example, АСУ_Склад).
2.Right-button click on the class with the stereotype application. Select the menu item Редактировать свойства.
3.Tab Приложение opposite field Containers click .... A window will open Контейнеры for запуска:
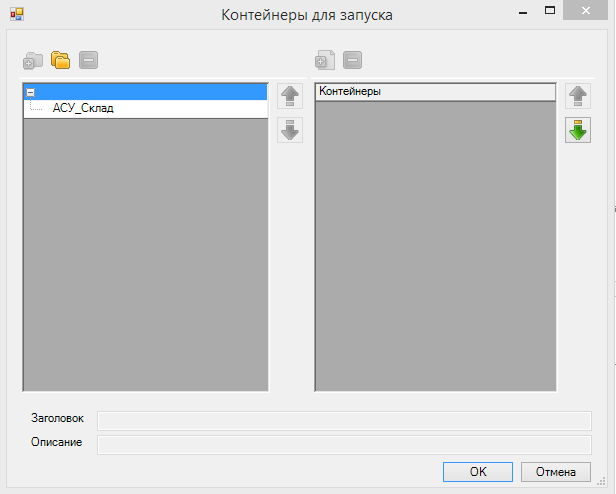
By default, on the left there is a folder called the name of the application itself. It is embedded in all the available forms list. You want to group a list form, on any basis, and to create for each group/subgroup a folder/subfolder and place the appropriate list form.
4.To allocate in separate group, for example, data about employees:
- Add to application folder, for example,
Сотрудники: stay on the root folder-, clickДобавить подпапку .
. - Double-click on the name of the new folder and write
Сотрудники.
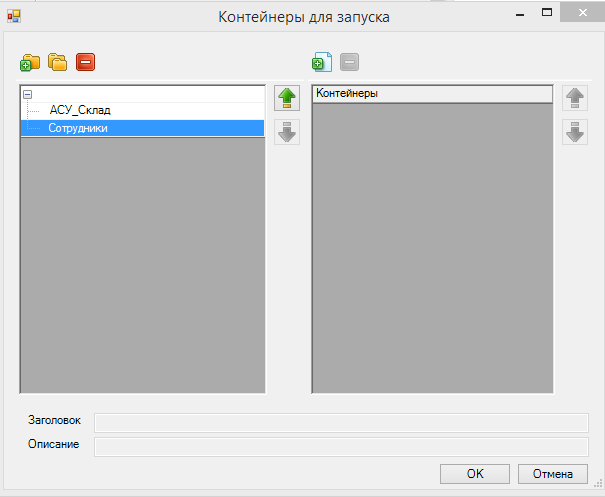
- In the right margin click
Добавить контейнер . A window will appear
 Добавить.... It will be empty because by default, it displays only a list of forms that have not yet been added to any folder. - To display the existing list of forms you need to tick all
Показать элементыand select lists, for example,СотрудникL.
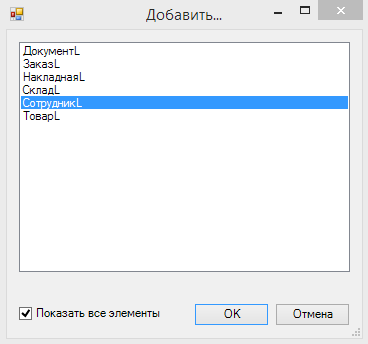
- Click
ОК. - Now in the window
Контейнеры for запускаnext to the folderСотрудникиassigned containerСотрудникL.
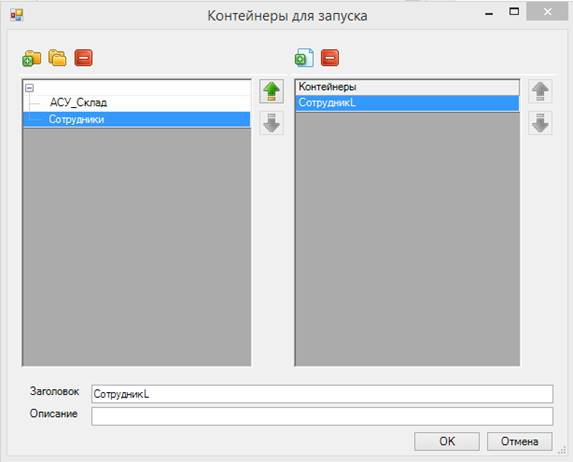
- In the title field, change the default value to, for example,
Сотрудники.
5.In a similar way to create subfolders in the following folder.
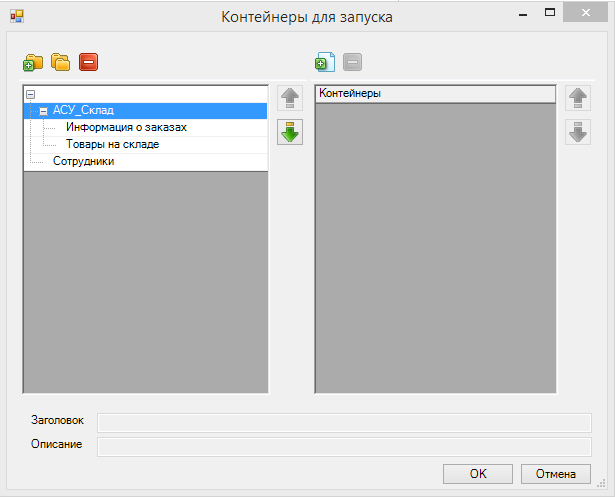
6.To remove all containers from the folder where they shouldn’t be (for example, АСУ_Склад), using the button Удалить контейнер  in the right part of the window.
7.Add the list of forms in the created folder:
- For example,
Информация about заказах:
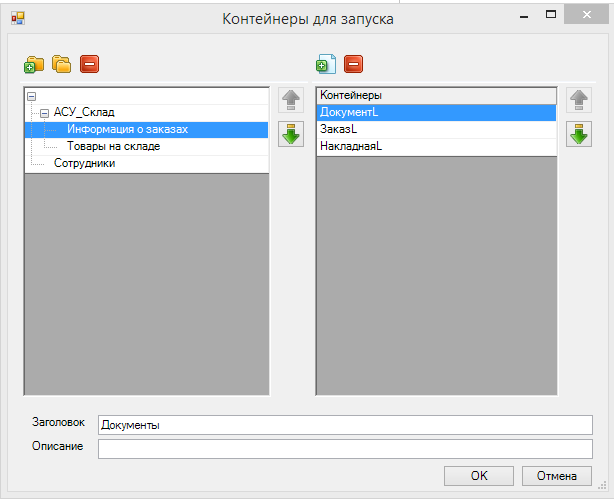
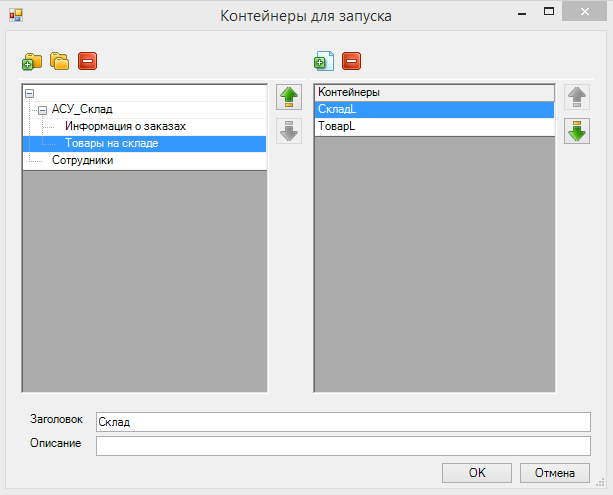
- In the folder
Товары on складе:
8.To change the header for a list of forms.
9.The order of the folders and containers in them if you need to change with the arrows to the right of the window.
10.In the window Контейнеры for запуска click ОК.
11.In the window Class (edit) click Сохранить and закрыть.
12.In the window with a chart and also click Сохранить закрыть.